

Do you want to make your WordPress website a little more individual and change your site’s font? After all, fonts are a matter of taste, and you have to feel comfortable with the look of your website. In this article, beginners and intermediates will learn how to change fonts in WordPress the easy way.
Two ways to quickly edit your CSS
Everything to do with the look of your website is controlled by something called a stylesheet. It’s a convenient file called style.css, which tells WordPress how you want your site to look and feel.
If you change a statement in this file, your entire website will change accordingly.
There are two ways to change the stylesheet of your page, which most beginners will quickly get the hang of:
Add own styles via the theme customizer
Since not so long ago, WordPress offers you the possibility to add your own additional CSS to your site in the administration area.
This is easily done via the menu item Appearance -> Customizer.
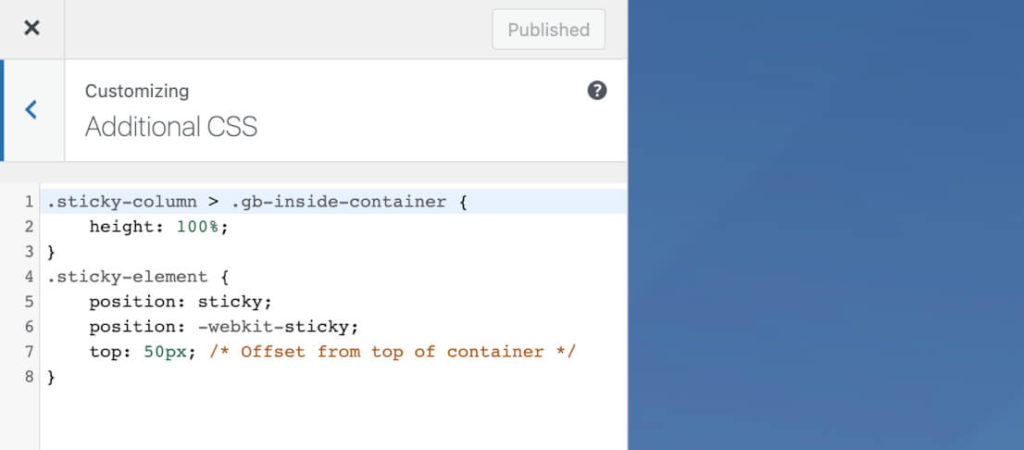
In the Customizer, you see a preview of your website on the right side, and on the left side, you find the menu item Additional CSS.
The text field that opens now is for your CSS instructions. Don’t get nervous: I will explain exactly what you have to enter there in a minute.
Edit stylesheet via editor
If you want to make more detailed changes, you have to edit your stylesheet, the file style.css.
To edit your style.css, you would typically have to access your server via FTP. A lot of bamboo for people with good basic knowledge, but a bit too complicated for beginners.
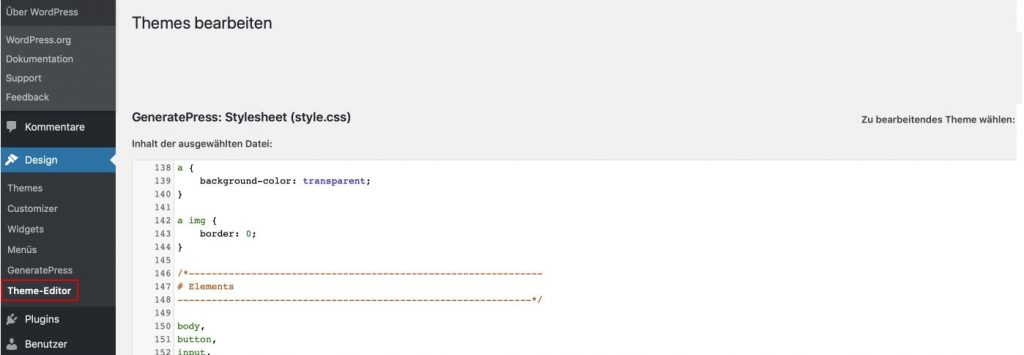
That’s why there is a so-called Theme Editor in the administration area of your website. You can access it via the menu item Appearance -> Theme Editor and open the style.css there.
To keep things as simple as possible here, I’ll describe below how to add your changes via the Customizer.
How to add fonts to your WordPress site
If you want to change the font, the first step is to add a new font to your WordPress site. This is similar to your computer, where fonts have to be installed before you can use them.
The best way to do this is to use Google Web Fonts. Google provides you with this service with hundreds of fonts, which you can insert into your website completely free.
Since the GDPR came into effect, however, Google Fonts have been somewhat controversial from a legal point of view. At least if you embed them the way Google initially suggests.
The colleagues from the hoster Mittwald have written a detailed tutorial on how you can easily integrate Google Fonts into your website in a DSGVO-compliant way. The tutorial is so well written that I’m not even going to post my own tutorial on it. I couldn’t write it any better, which is why I would highly recommend it to you.
Including new fonts and changing existing ones
If you followed the tutorial above, your site already knows the new font and where to look to pull the font into your page.
All we need to do now is specify via CSS which areas of your site this new font should be used for in the first place.
Possible areas would be:
- The main headings of your individual pages.
- The subheadings of the articles.
- The normal body text on your website.
How to change the font for your headline
Headings are always hierarchical. The title of a page, i.e., your main heading, is always marked with the tag h1.
To customize only the titles of your posts and pages, you can add the following CSS statement to the Additional CSS section in the Customizer:
h1 {
 font-family: "Times New Roman", Times, serif;
}
Changing the font for your subheadings
Subheadings are always marked with the tags h2 to h6 in HTML & CSS. Most often, you will use h2 and h3 for your website.
If you want to change the font of your subheadings in WordPress, it looks almost the same as your page title. You just say via CSS that you want to change the subheadings h1 to h6:
h2,
h3,
h4,
h5,
h6 {
 font-family: "Times New Roman", Times, serif;
}
Changing the font for your body text
The “normal” text, i.e. the body text of your website, is always circumscribed by a p.
So if you want to change the font for your body text, you just have to address the class p in your CSS:
p {
 font-family: "Times New Roman", Times, serif;
}
Easy, isn’t it? And the best part is yet to come:
If you want to make further adjustments to your fonts, all you have to do is add more info to the instructions above.
And while we’re at it, let’s directly adjust the font size and text color in our examples.
How to change the font size in WordPress
Let’s start with the main title of your articles and pages in WordPress.
To change the font size for this title, you just have to add the line with “font-size” to the statement you just wrote:
h1 {
 font-family: "Times New Roman", Times, serif;
 font-size:28px;
}
CSS statements are always separated by a semicolon. That’s why every line ends with a semicolon.
To display the size of your subheadings in a different size as well, simply add a “font-size” statement to the classes h2 to h6 as well:
h2,
h3,
h4,
h5,
h6 {
font-family: "Times New Roman", Times, serif;
font-size:22px;
}
If you want to change the font size of your normal body text, this is also very easy.
p {
 font-family: "Times New Roman", Times, serif;
 font-size:18px;
}
That wasn’t so hard, was it? Now you’re almost an expert in changing fonts using CSS. So we might as well change the color of the text if you like.
How to change the font color
Online colors are often specified with a so-called hexadecimal code. A stupid thing because nobody can remember these codes. But it is like it is.
CSS instructions for text colors always look like this:
color: #003d58;The word “color” at the beginning says that a text color should be changed. The #003d58 is the hexadecimal code for the color. In this case, the beautiful dark blue of the WPFellows page.
Now you just have to add this information in a new line to your CSS code:
p {
 font-family: "Times New Roman", Times, serif;
 font-size:18px;
 color: #003d58;
}
The result: dark blue body text in Times New Roman font with a text size of 18px.
Using a plugin to change the font in WordPress
If the whole thing was too complicated for you and you just don’t feel like doing all that CSS code yourself, you can solve it all another way.
For every WordPress problem, no matter how small, there is, of course, always a suitable plugin. This is also true for changing the fonts on your website.
Even if I advise you to use the method described above, I want to introduce a few plugins to you, with which you can change the fonts of your website very quickly.
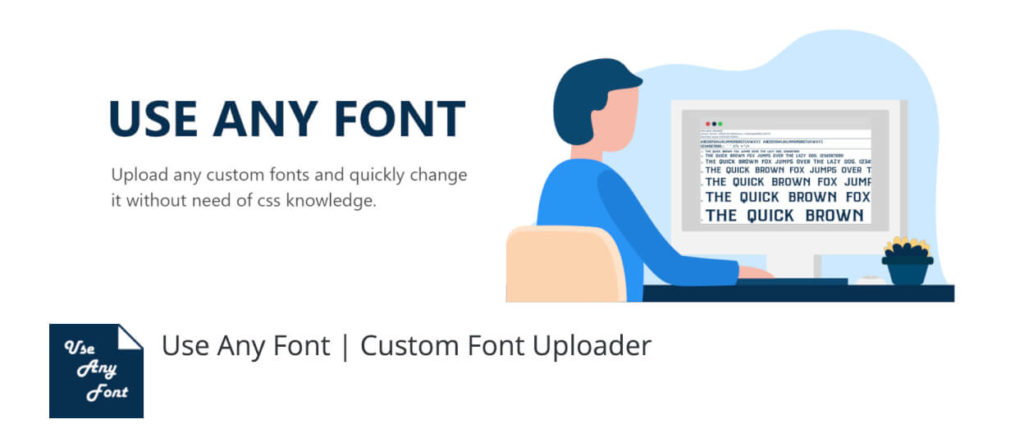
Use any font
Use Any Font is a plugin that gives you complete freedom over the fonts of your website.
You can add any font to your WordPress website without much difficulty, and then easily choose which elements of the site to use the font for.
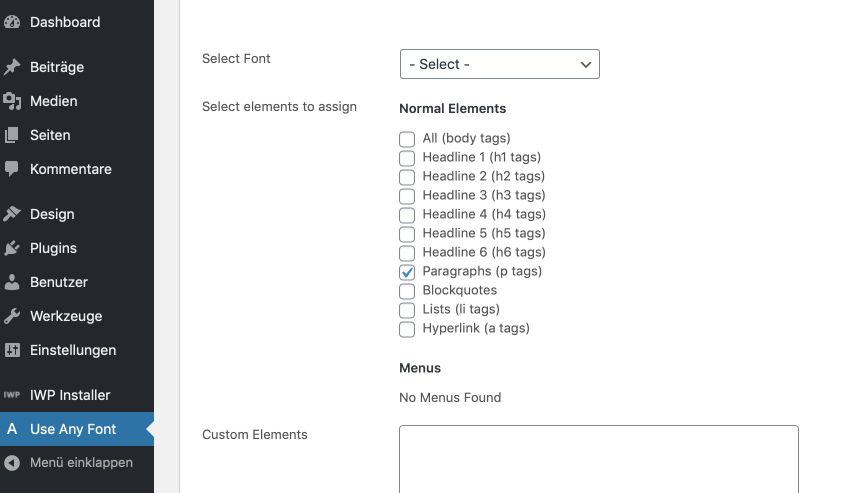
Some fonts need to be converted first before using them on your site, but this can also be done quickly via the plugin.
The bottom line
Changing your font in WordPress is actually a straightforward thing. If you know how to do it.
I hope that with this tutorial I was able to give you all the info you need to make the change quickly on your own.
And if you have any questions, I’m looking forward to your comments below.